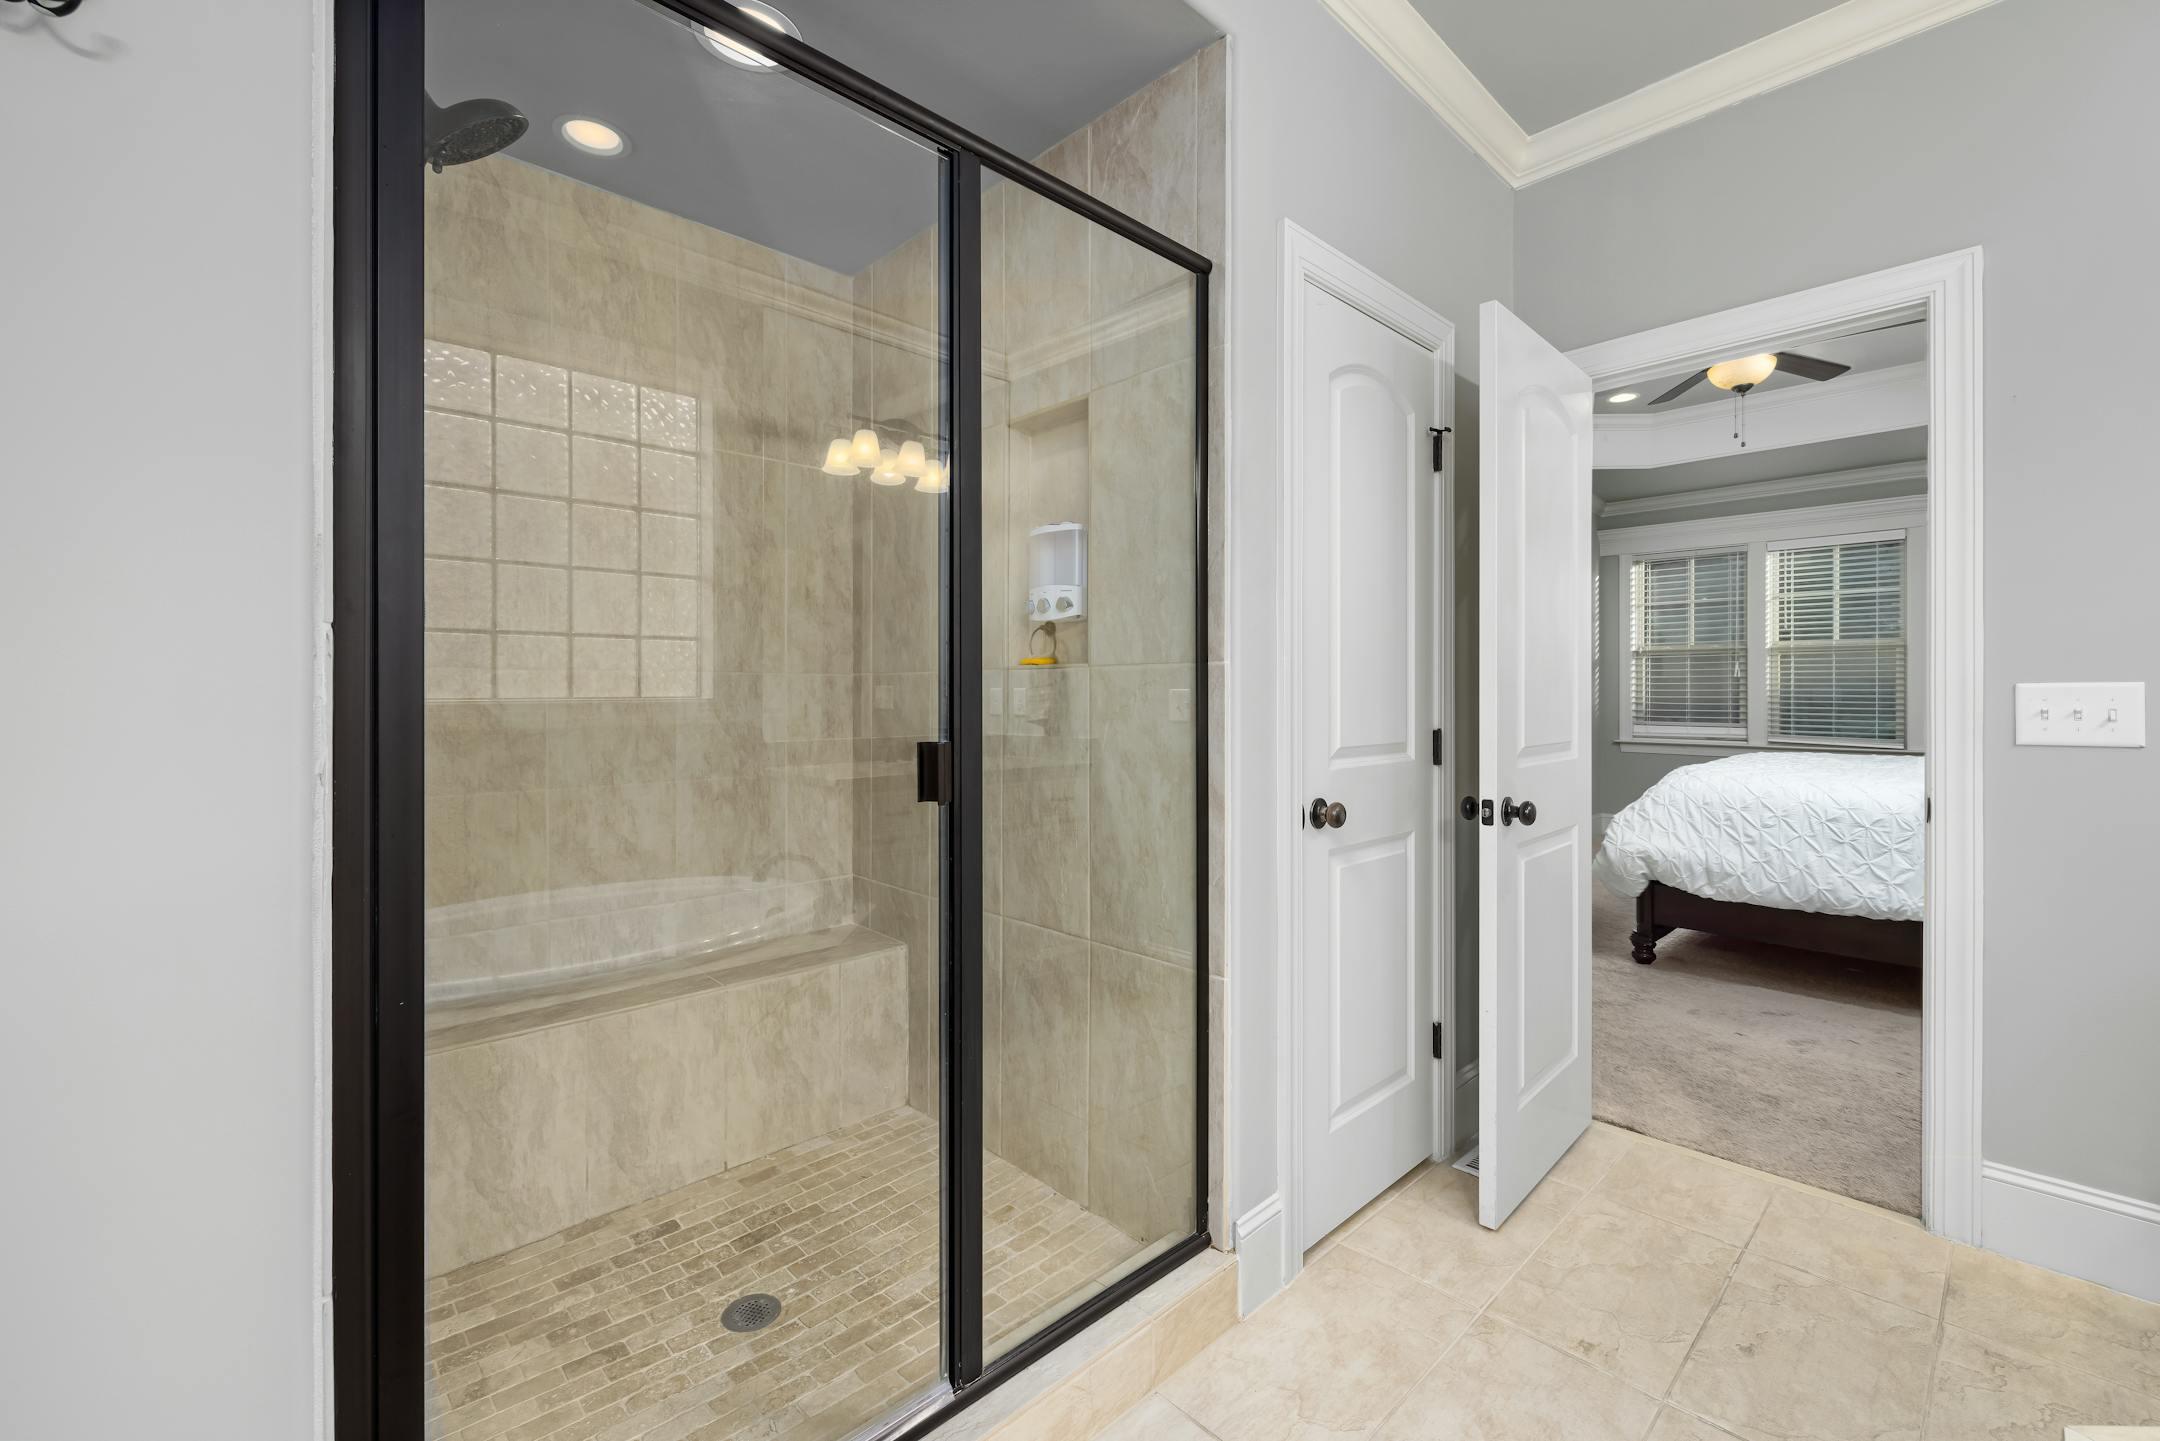
Replacing or installing a new shower door is one of those bathroom upgrades that makes an immediate and dramatic difference. It changes how the space looks, how it functions, and how easy it is to clean and maintain. But if you've never been through the process before, it can feel unclear what's actually involved from start to finish. Understanding each phase of a professional shower door installation helps you plan better, set realistic expectations, and feel confident in the outcome.
A shower door isn't a standard off-the-shelf product that fits every opening. Bathroom walls shift, floors settle, and measurements that seem straightforward often reveal surprises once a professional looks closely. A door that's installed without precise measurements and proper technique can leak, stick, shatter, or simply look wrong from day one.
Professional installers bring the tools, experience, and materials to handle those variables correctly. They also know how different glass types, hardware finishes, and frame styles interact with specific shower configurations. Getting this right the first time saves you the cost and frustration of a redo.
The process starts before anyone picks up a measuring tape. You'll work with your installer or showroom to identify the type of shower door that fits your space, lifestyle, and budget. The main options include framed, semi-frameless, and frameless glass doors, each with different aesthetic and functional characteristics.
Hardware finish, glass thickness, and door swing direction are all decisions that need to be made at this stage. If you're replacing an existing door, your installer will also assess whether the current shower structure and wall substrate are suitable for the new installation. This consultation sets the foundation for everything that follows.
Accurate measurement is the most critical step in the entire process, and it's where professional expertise pays off most clearly. Bathroom walls are rarely perfectly plumb or square, so measurements can't be taken at face value. A skilled installer measures at multiple points across the opening to account for any variation.
Those measurements determine the exact dimensions to which your glass panels will be cut. Custom-cut glass is the standard for quality shower door installations, which is why the measurement phase can't be rushed or approximated. Even a small discrepancy can mean the difference between a clean, watertight seal and a door that never quite closes properly.
Once measurements are finalized, the glass is ordered and cut to specification. This is typically where the lead time in a shower door project comes from. Depending on the glass type and supplier, fabrication can take anywhere from a few days to a few weeks.
During this window, your installer may also prepare the shower opening for installation. That preparation can include:
It's a good time to address any underlying issues before the new door goes in.
When the glass arrives and installation day arrives, a professional team typically completes the job in a few hours, depending on the configuration's complexity. Frameless installations require more precision around hardware placement and sealing, while framed systems move a bit faster. Either way, the process involves securing the track or support hardware, setting the glass panels, checking the door swing and alignment, and applying silicone sealant along all contact points.
Your installer should walk you through the finished installation and explain care instructions before leaving. That includes how long to wait before using the shower, which is typically at least 24 hours to allow the silicone to cure fully.
A well-installed shower door is low-maintenance, but a few habits keep it looking and functioning at its best. Squeegeeing the glass after each use dramatically reduces water spots and soap buildup. Checking the silicone seal periodically and reapplying it when needed prevents moisture from getting behind the installation.
Hardware should be wiped dry regularly to prevent corrosion, especially in humid bathrooms with limited ventilation. Following these simple practices extends the life of your shower door significantly and keeps it looking like new for years.
At Shower Glass, our team handles every phase of the installation process with precision and care, from the initial consultation through the final walkthrough. We work with homeowners to find the right glass, hardware, and configuration for their specific shower and deliver an installation that's built to last. Our experienced installers take the guesswork out of the process so you can enjoy the results without the stress.
If you're ready to upgrade your shower with a professionally installed glass door, we'd love to help. Contact our team today to schedule your consultation and get started.

